Description
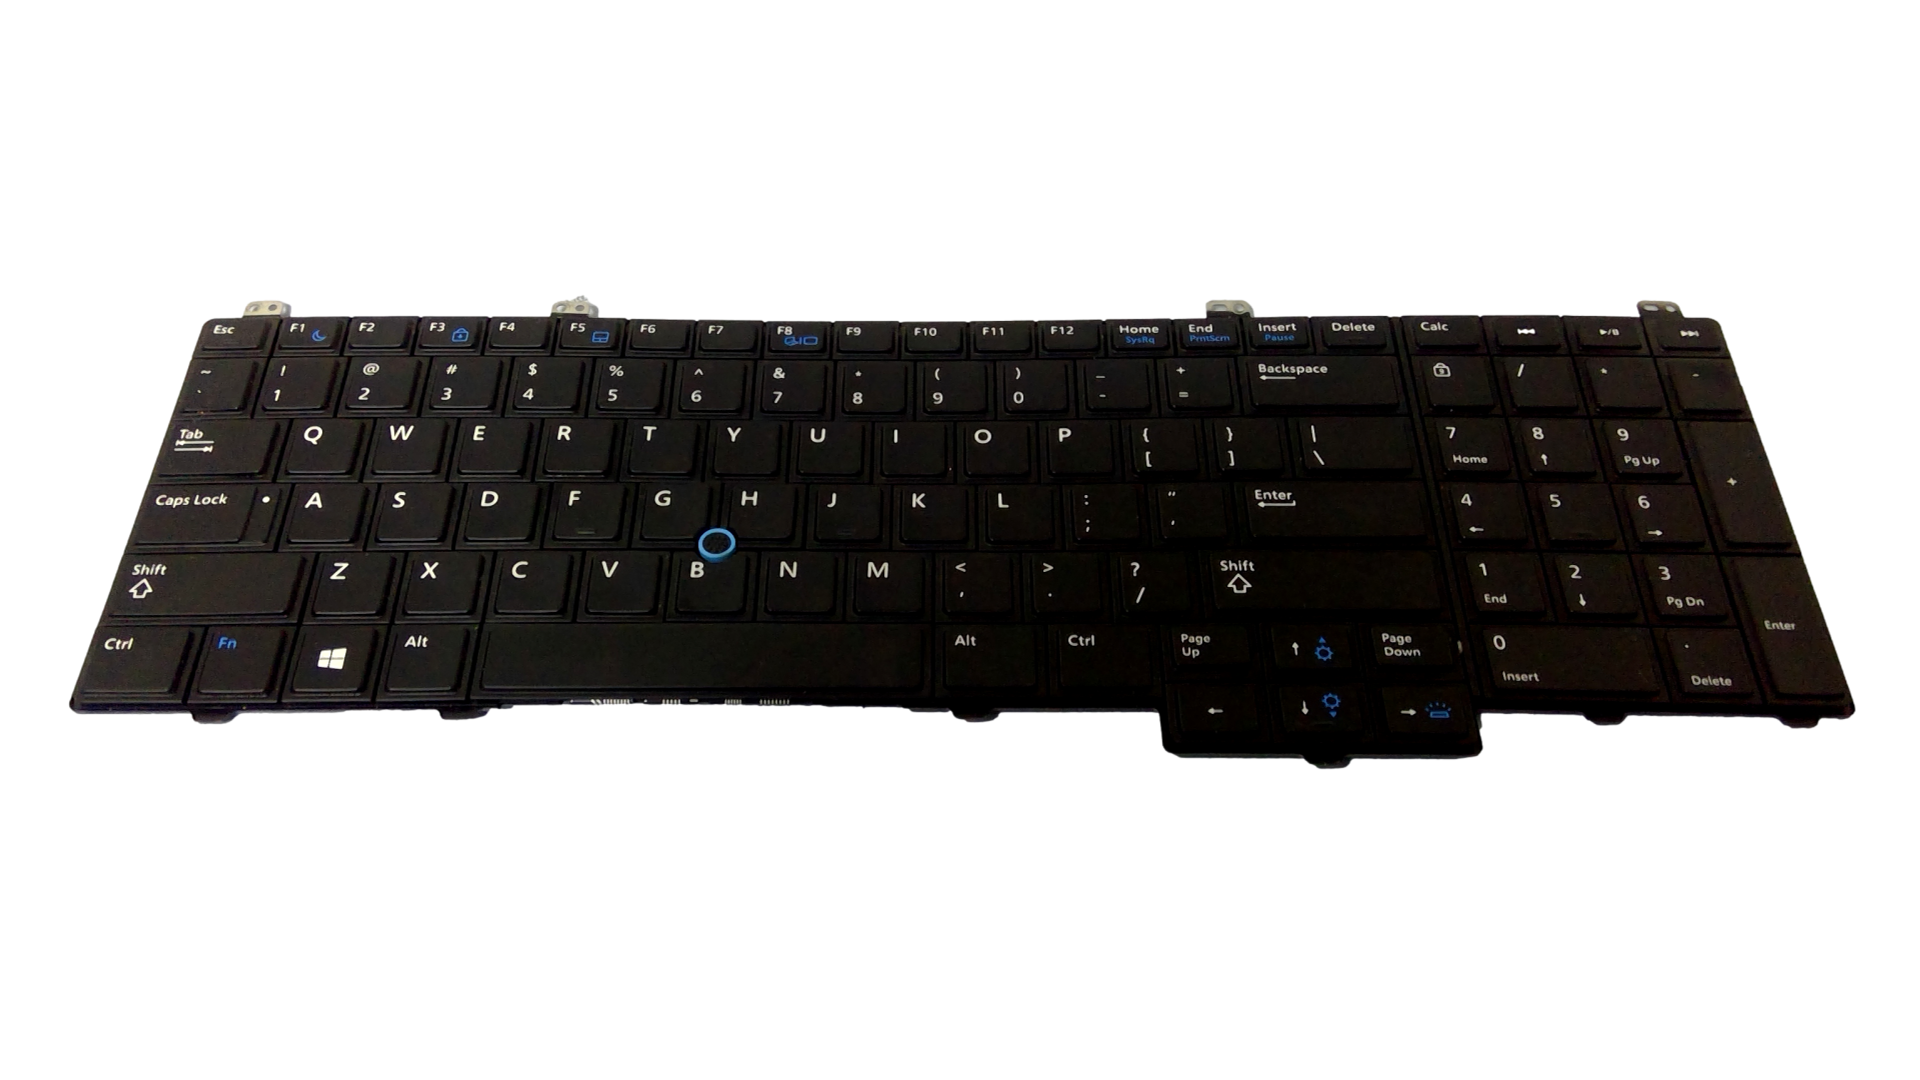
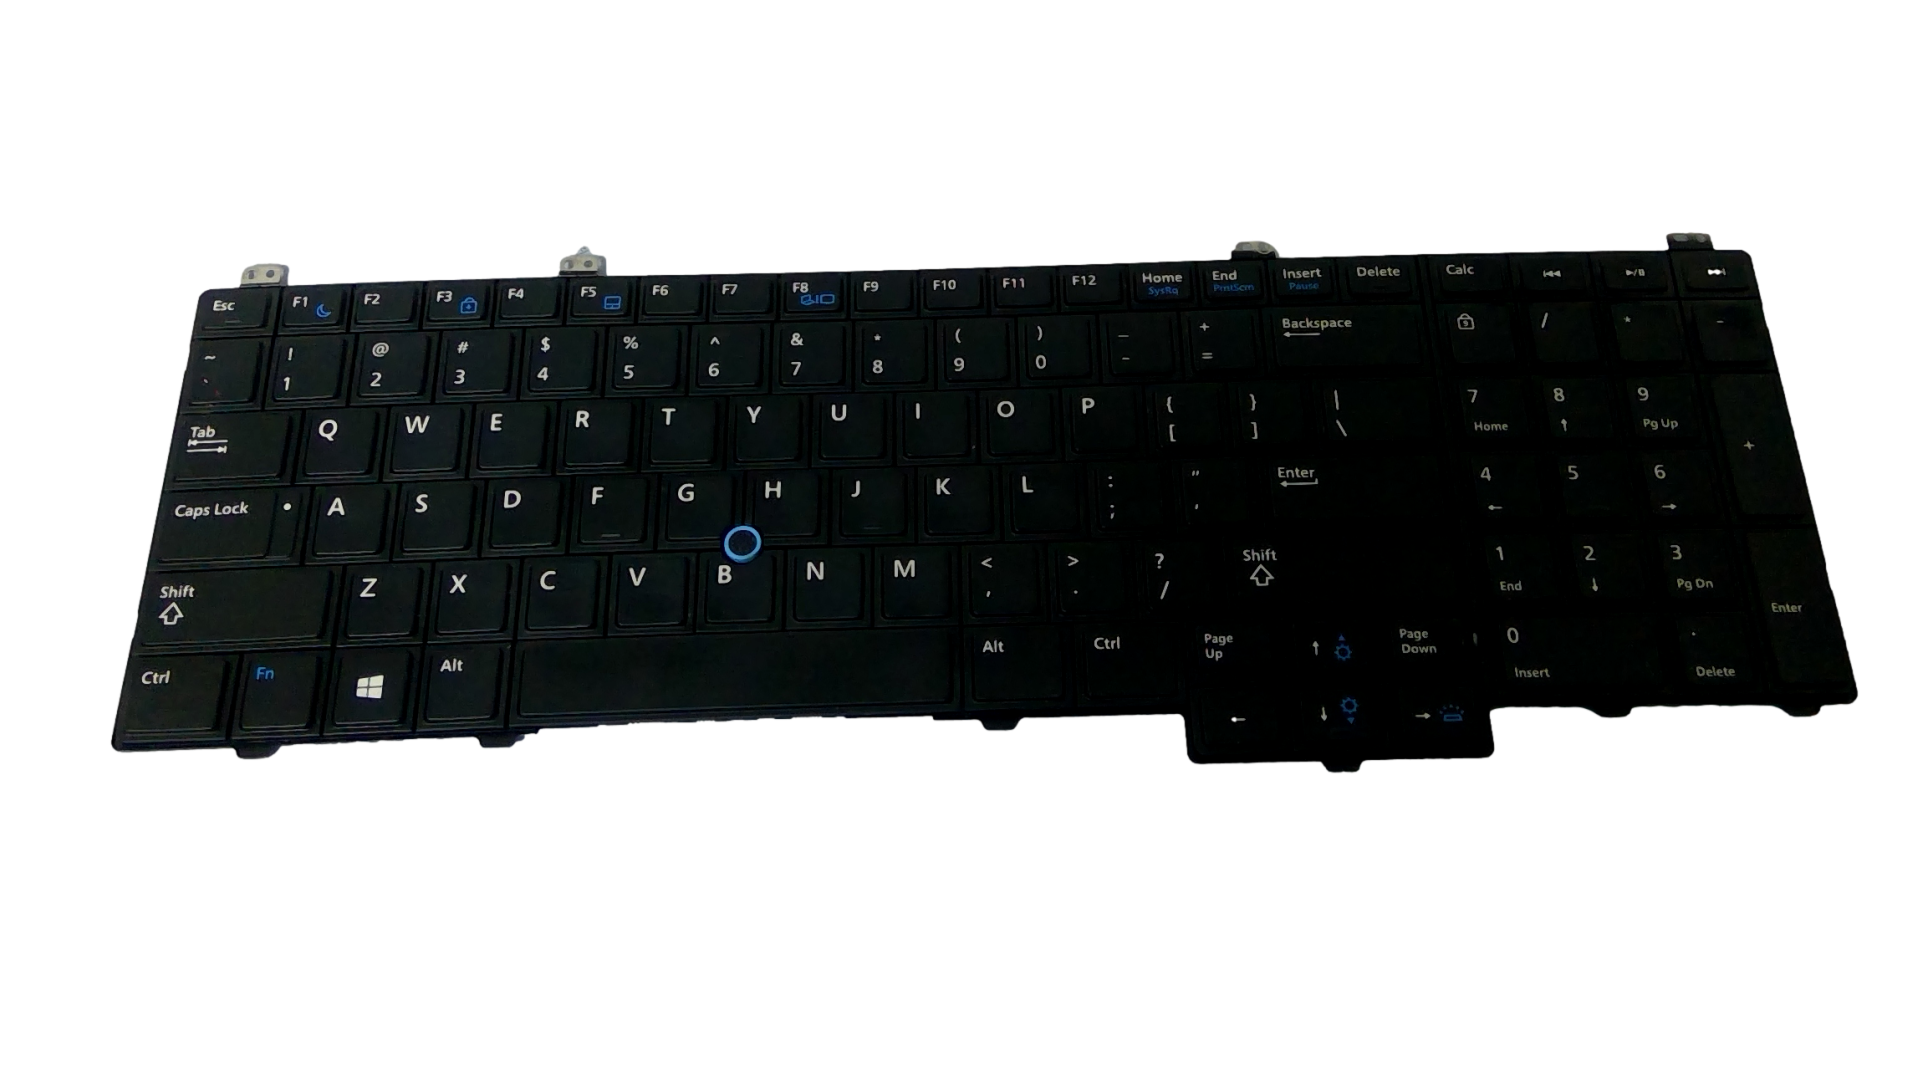
The Dell Latitude E5540 15.6″ laptop uses the 76X2J part number for its backlit keyboard. This is an internal QWERTY keyboard designed specifically for the Latitude E5540 model. Below is a detailed overview of the 76X2J backlit keyboard and its compatibility.
Key Details of the Dell Latitude E5540 76X2J Backlit Keyboard:
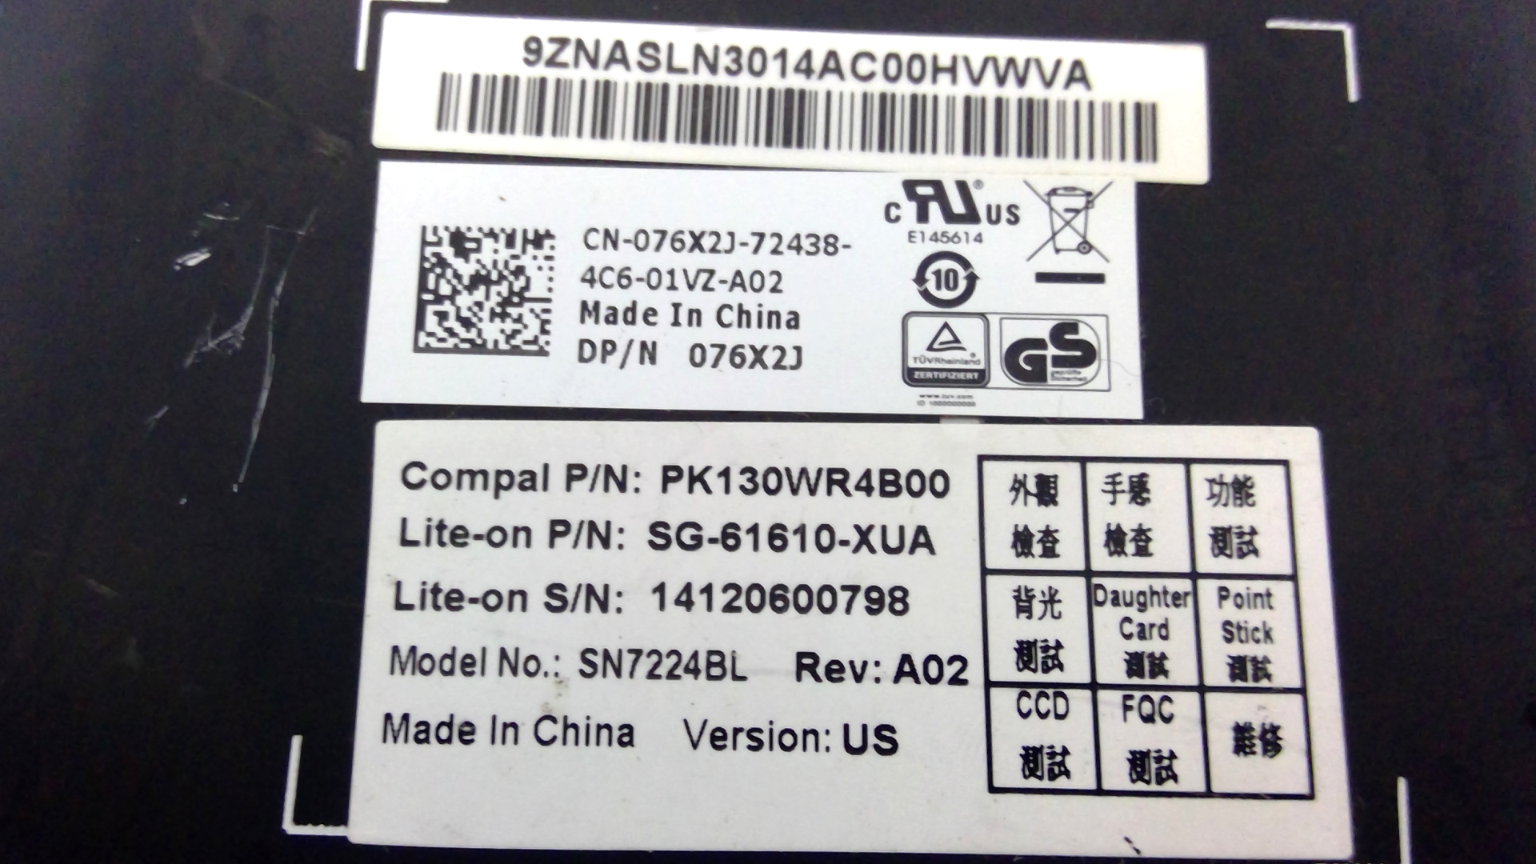
Part Number: 76X2J
Compatible Model: Dell Latitude E5540
Keyboard Layout: US QWERTY layout
Backlighting: This keyboard is backlit, meaning it has illuminated keys for easier typing in low-light conditions.
Region: United States keyboard layout, standard for English-language regions.
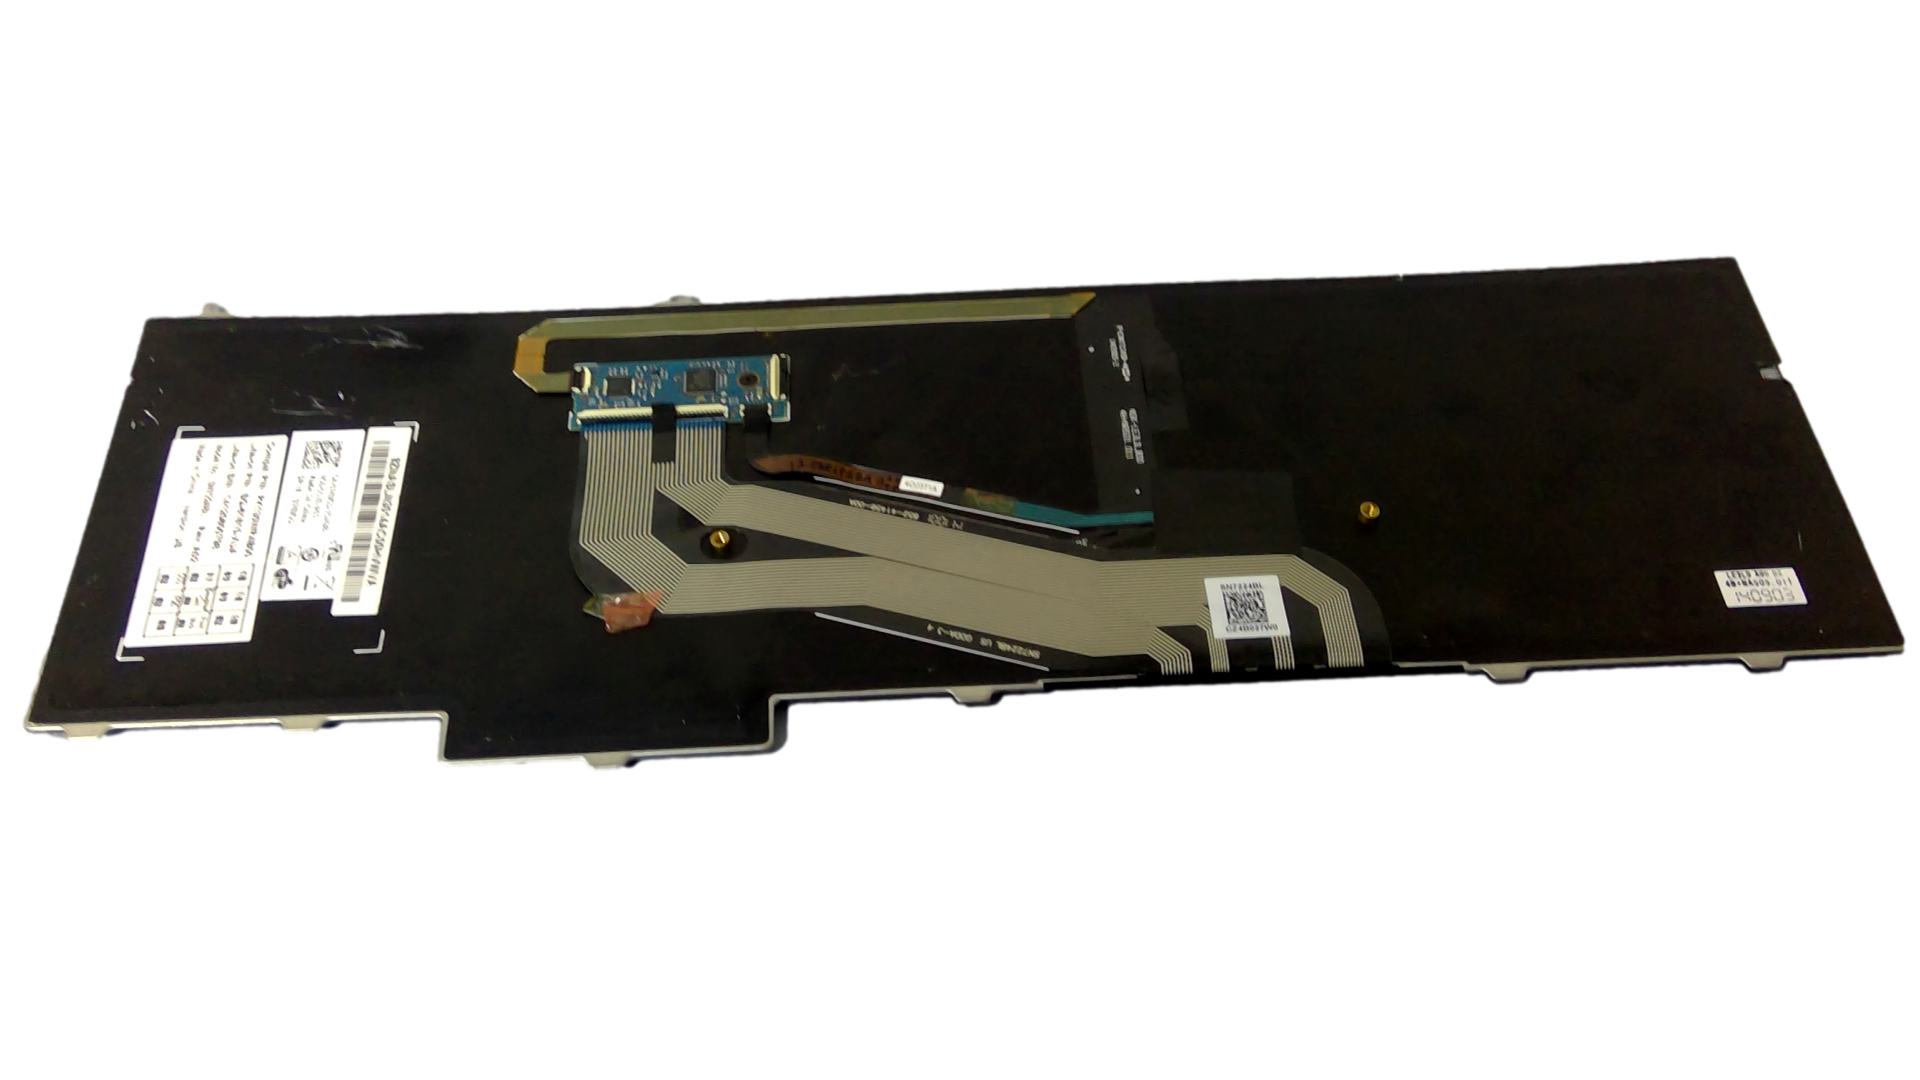
Connector Type: Internal connection (flex cable).
Material: Plastic or rubberized keycaps, designed for durability and a comfortable typing experience.
Design: The keyboard features a full-size layout with standard keys, including Function keys, numeric row, and Arrow keys.
Key Features:
Backlit: The backlit feature is particularly useful when typing in low-light conditions, such as in dimly lit rooms or while traveling.
Comfortable Typing Experience: As with most Dell keyboards, the 76X2J keyboard provides a comfortable typing experience with good key travel and tactile feedback.
Durability: The keyboard is designed to withstand frequent use and is built for long-lasting performance, suitable for both personal and professional use.
Full Functionality: The keyboard supports all standard laptop keys and features, such as Caps Lock, Num Lock, and Esc keys.
Compatibility:
Dell Latitude E5540: The 76X2J backlit keyboard is designed specifically for the Latitude E5540. It is important to verify your model number to ensure compatibility with this part.
Backlit vs. Non-Backlit: If your original keyboard was non-backlit, you must confirm that your laptop supports backlit keyboards (sometimes, this feature may require specific motherboard configurations or BIOS settings).
Installation:
Replacing the Dell Latitude E5540 76X2J backlit keyboard involves disassembling the laptop. Here’s a general guide for replacement:
Power Off and Disconnect the Laptop: Ensure that the laptop is powered off and unplugged.
Remove the Battery (if removable): Disconnect the battery to avoid any electrical issues.
Access the Keyboard:
On the Latitude E5540, you typically need to remove the palm rest or top cover to access the keyboard.
This usually involves unscrewing screws from the bottom panel of the laptop and gently prying open the top cover.
Disconnect the Old Keyboard: Once you have access, disconnect the keyboard’s flex cable from the motherboard.
Remove the Old Keyboard: Once the cable is detached, carefully remove the old keyboard from its mounting.
Install the New Keyboard: Position the new 76X2J keyboard in place and reconnect the flex cable.
Reassemble the Laptop: Secure the keyboard, reassemble the top cover, and reconnect the battery.
Test the Keyboard: After reassembly, power the laptop on and test the functionality of the new keyboard, ensuring that the backlight works and all keys are responsive.
We Appreciate Your Business.


Reviews
There are no reviews yet.